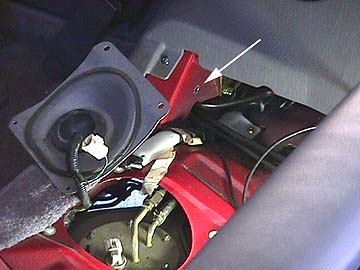
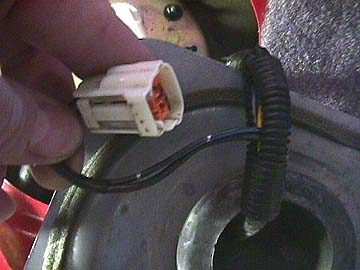
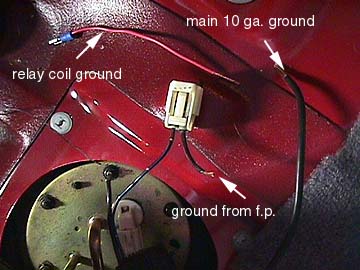
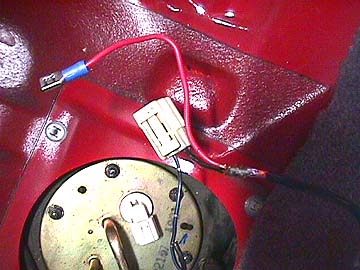
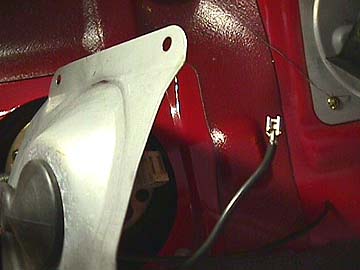
Raktron Logo

Denso Fuel Pump Rewiring Instructions Page 4
2G FWD Turbo ('97 Spyder)

by Mark Purney


You will need a good grounding point to attach the ground wire from the negative terminal of the fuel pump. On the Spyder, there are no obvious grounding points near the pump. However, there is a small hole just above the large hole which the wire was pulled through. Grind off the paint inside and around this hole to convert it into a grounding point. You can use a bolt with a star-type locking ring (to keep the bolt head from turning so you can tighten the nuts from the visible side). Trick: Tape the bolt (and locking ring) to your finger with electrical tape and push the bolt through from the inside (using the access hole the wire was pulled through).
Cut the tape on the conduit in order to pull the wires out further.
Remove the tape from the grommet in order to pass the main f.p. wire and ground wire through. Cut a length of 10 gauge wire to serve as the ground wire between the pump and the grounding point.
Feed the main fuel pump supply wire and the ground wire through the grommet.
Attach a push-on tab connector to the main fuel pump wire. Later, this will connect to terminal 87 of the relay (main contact "12V in"). Be sure to solder it, not just crimp.

Don't connect the relay until later - it will get in the way. For now, just note which wires are which.
Cut the black wire (original ground) running to the fuel pump connector as shown. The part of this wire running to the fuel pump will still be used (ground). The rest of this wire which disappears into the harness is no longer used.

The red wire in the picture is the ground for the relay coil. It does not carry a lot of current. Attach a push-on tab connector to one end of this wire. Later, this connector will attach to terminal 85 of the relay (coil ground).
Solder the 3 ground wires together:
1. Original (black) ground wire which goes to fuel pump connector.
2. New ground wire which goes to the new grounding point.
3. Relay coil ground wire.

Proceed to page 5