 |
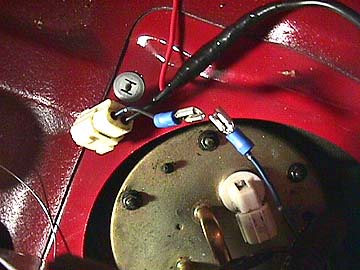
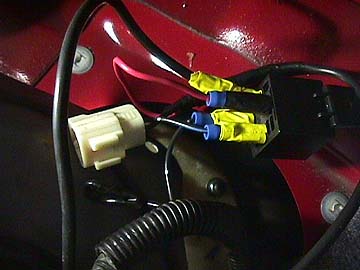
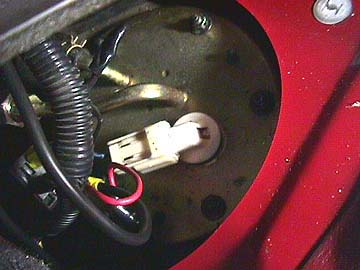
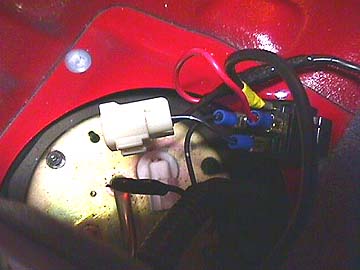
Connect the push-on tabs to the
30A relay terminals as follows: Main f.p. wire (from battery)
to 87 (contact).
Blue wire from white f.p. connector to 30/51 (contact).
Blue wire from harness to 86 (coil positive).
Red (or whatever color you used) wire to 85 (coil ground).
It is recommended that you solder the connectors to the relay
terminals to be sure the connections will not come loose or
develop contact resistance. (You could avoid using the push-on
tab connectors and solder the wires directly to the relay terminals,
but this is not recommended. It is much easier to crimp the
connectors on the wire ends and solder them first, as opposed
to trying to solder 10 gauge wire to flat terminals in the
back seat.) |